One of the announcements I liked the most from Google Cloud Next 18 was Google Cloud Build (former Google Container Builder). I’ve been missing easy and lightweight CI/CD for GCP, especially with focus on serverless. I thought I would give it a try before setting it up for CI/CD in the open source data/analytics/ML solution I’m working on - DataHem. Hence, I figured I use it to power this blog.
The project directory of this blog is hosted on Github and use the awesome generator Hugo to generate the static site that is hosted on Firebase. What I wanted to accomplish is to set up a build that use a push to Github to trigger a build that reads in the project directory from Github, run Hugo to generate HTML-files and push those to Firebase hosting. Actually, this post is written using Githubs web client and when committed trigger a build as described above.
1. Hugo
First you need to generate the project directory with hugo. Get started by following the quick start instructions.
2. Firebase
Follow the instructions to set up and deploy to Firebase
3. Git
Initialize a local git in your project directory root (if not already done). Make sure you ignore the /public folder in .gitignore (or remember to add a step in cloud build to remove that folder before running the hugo command step). Also, delete the .git in the themes folder (if there is any) to avoid issues when cloud build try to run hugo. Create a github repo and add as remote in your local git.
4. Google Cloud Build
Google Cloud Build has some builders maintained by Google and some builders are open-source and contributed by the community. I use two community maintained builders, hugo and firebase.
Create a builders directory separate from your project directory, init git and clone the cloud-builders-community repo by following the instructions.
4.1 Hugo Builder Image
Go to the directory that has the source code for the hugo Docker image and build the image (make sure you have gcloud installed):
$ cd cloud-builders-community/hugo
$ gcloud builds submit --config cloudbuild.yaml .
4.2 Firebase Builder Image
There seem to be a bug in the firebase builder, so before you go on building the firebase image, comment out or delete the line with secretEnv and change privilages on the firebase.bash to be executable.
#cloudbuild.yaml should look like this
steps:
- name: 'gcr.io/cloud-builders/docker'
  args: ['build', '-t', 'gcr.io/$PROJECT_ID/firebase', '.']
#  secretEnv: ['FIREBASE_TOKEN']
images:
- 'gcr.io/$PROJECT_ID/firebase'
$ cd cloud-builders-community/hugo
chmod +x firebase.bash
$ gcloud builds submit --config cloudbuild.yaml .
4.3 cloudbuild.yaml
Now it’s time to create a build configuration file. Go to you project directory root and create a file named cloudbuild.yaml. The file should look like
steps:
- name: 'gcr.io/$PROJECT_ID/hugo'
- name: 'gcr.io/$PROJECT_ID/firebase'
  args: ['deploy']
  secretEnv: ['FIREBASE_TOKEN']
secrets:
- kmsKeyName: 'projects/[PROJECT_ID]/locations/global/keyRings/cloudbuilder/cryptoKeys/firebase-token'
  secretEnv:
    FIREBASE_TOKEN: '<YOUR_ENCRYPTED_TOKEN>'
Replace [PROJECT_ID] and <YOUR_ENCRYPTED_TOKEN> by following the instructions for how to create a Google KMS key in firebase builder readme.md
4.4 Build trigger
Create a build trigger to automate builds by following the guide on Google Cloud Builder, i.e. select Github, authenticate select the remote repo and that’s about it.
4.5 Push to trigger build
In your local project directory git, add files, commit and make your first push to trigger a build.
$ git add .
$ git commit -m "my first commit"
$ git push -u origin master
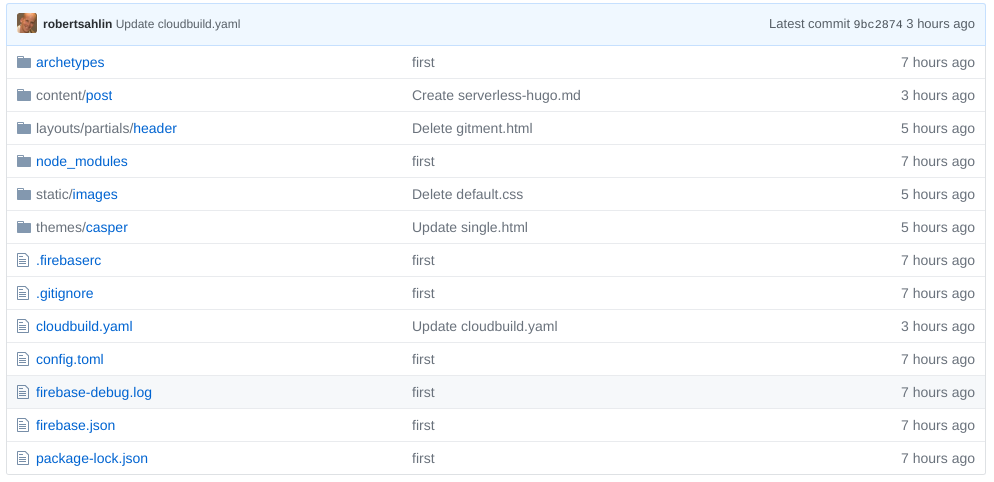
Your github repo’s root directory should look like:
Now you should see a build in the console and if it’s green then you should also see it in the firebase deployment history. Remember to set up a custom domain in firebase hosting if you have one.
Happy serverless blogging!